However, one thing I'm dreading more than ever is driving it in the rain. She has developed a little leak that allows water by the A-Pillar at times, but lately it also leaks in the back in the area behind the seats were the top would stow away in.
The one by the A-pillar isn't too bad as long as I get her into a garage or under cover she seems to be okay. But the rear area one is pretty bad.
Yesterday I finally decided I had all I needed to properly tackle this issue. After doing some research, it pains me to say that I have probably been ignoring my top since I bought the car new. I started research by seeing if I could Scotch Guard the convertible top. What I found instead is that there is a regimen that can be followed once or twice a year to keep the top clean and waterproof. I did this yesterday but I think I'll start a regimen to do this in the fall and spring (you know - trying to avoid the summer heat and winter freeze).
So here is what I did:
Started by cleaning the top as recommended. I had to wet it first, so I recruited my daughter to be on hose duty first. I figured I'd hunt for this leak in the back first.
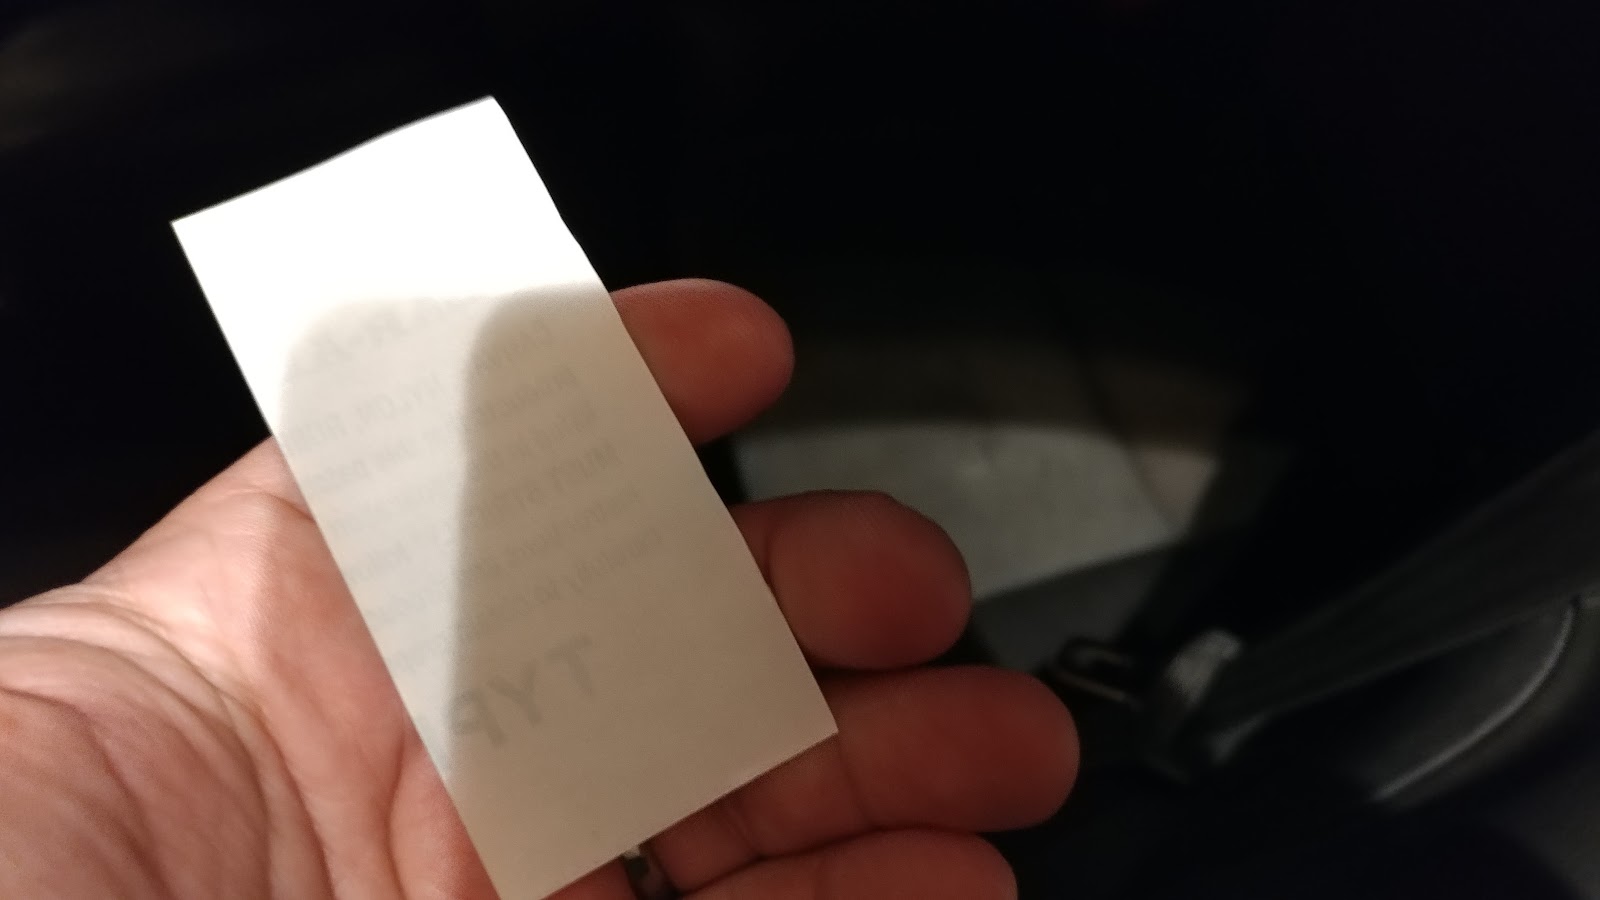
The the top getting drenched - I did spot this leak:


I did add a little glue into the seam as well and it didn't turn out exactly as expected, but better than before at least.


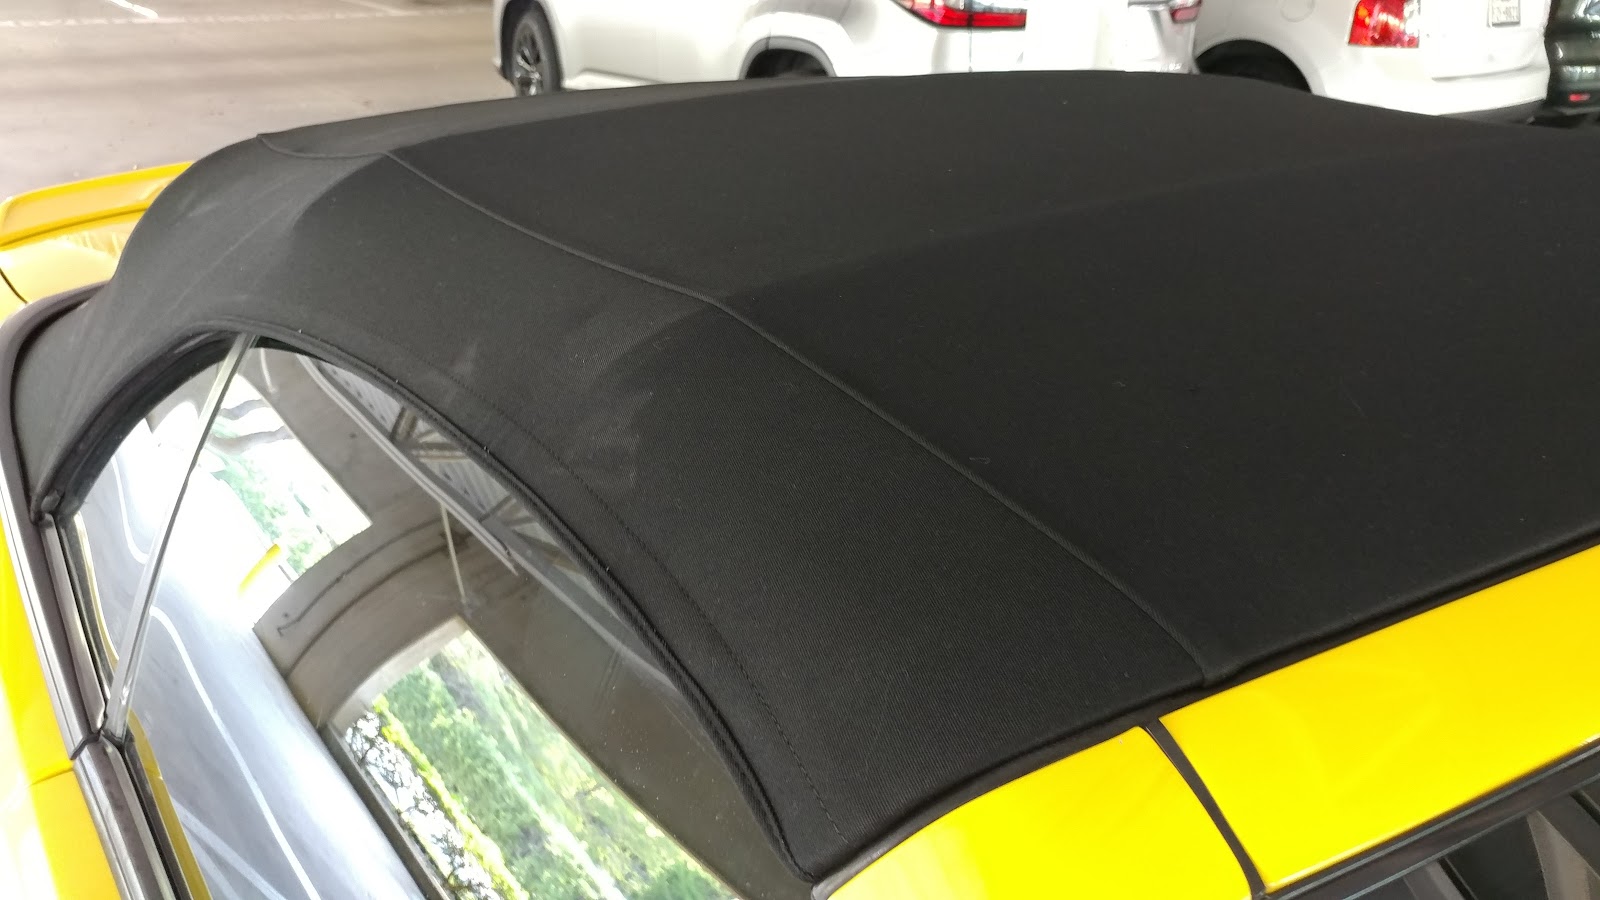
I essentially sprayed the whole bottle of protector on the top:


I removed the clips from the back of the window, and here is what I see of it now:


By the time I made it into work - the top was looking great:


8/6/2017 update:
It seems like this really works. Here is a small video of how hydrophobic it becomes:


No comments:
Post a Comment